Sunday, 27 March 2016

Part Six: Ben Matthews. Environment Artist.

This post will explain how I created seamless materials using Quixel; for our game, Red Hail.
Using Razvan's final concept as reference I went about creating multiple materials; I didn't however just take materials straight out of Quixel's default library. I created my own by blending them together.

Here are a few examples of the materials I created. These materials will also be used by the prop artist on his own assets.


By adjusting the normal's I managed to create a nice effect on this white plastic. This material was the most important as it will be placed on most of the assets in scene. I layered materials on top of one another, then used dynamask to blend them together.

Painted Steel.


I used ndo on this material to create repeating lines. This simulates (using a normal map) a bumped surface, I will place this both on cables, and panels.

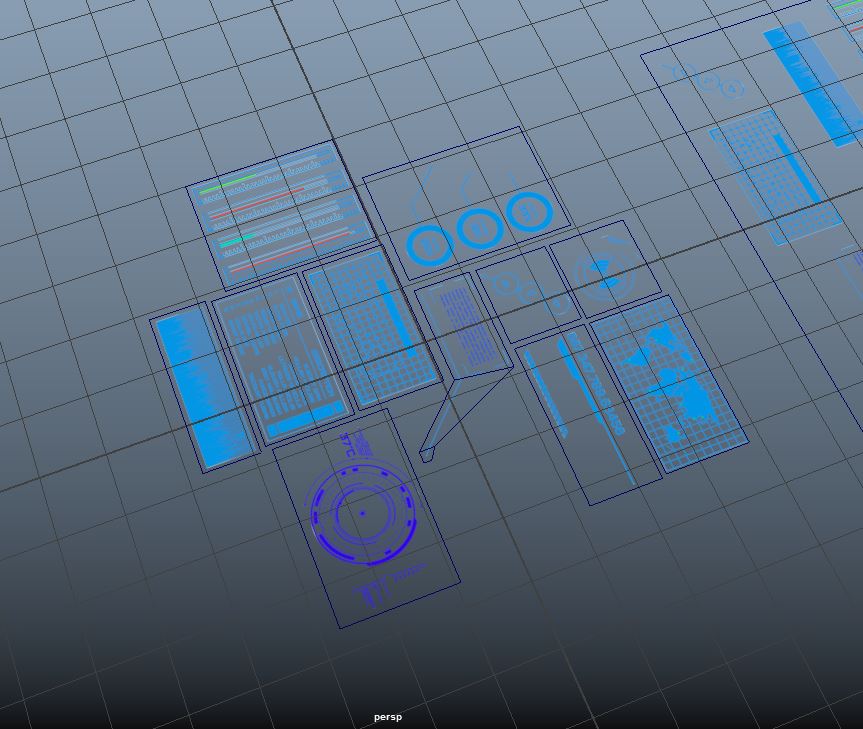
I also created transparency maps to use in game. Transparency maps allow me to fake detail and create shapes that would otherwise be expensive on my tri count.


I created a black and white version of this grid, then placed it into the alpha channel of the specular. map. Then when it is placed in engine I can set the alpha to be transparent, making anything that's black on the alpha transparent.

Image placed into Alpha channel.
I made the grid a 4k seamless texture using offset in Photoshop. However I forgot to take screenshots of this process. It is important for me to make this texture seamless so I can tile it in Unity.


Here is the seamless grid in Unity. I found it difficult to get the texture completely seamless as the image was slightly skewed. However I am pleased with the end result, luckily the small errors in the texture are barely visible in game so its not really a big issue. Its only when you zoom right in on them that they become noticeable. 


I also created blood splats and a set of sci-fi decals to be placed around the level. These were created using the same method as the grid. The decals themselves were created using a set of royalty free brushes I found online. I've had the brushes for over a year now so its nice to be able to put them to good use, in game I want to put an emmisive texture onto the decals to make them glow.


Here you can see exactly how I went about setting up my materials in Unity. Now that the materials are in the scene I can drag and drop them onto assets, it also allows other team members to use these materials.


Tuesday, 15 March 2016

Games Production - Milestone 2

By this milestone, we were meant to have created a gameplay protoype of our game that is representative of the core gameplay mechanics. However, since we had already created a protoype for the last milestone, we had chosen to start implementing greybox versions of the environment art.

However, by implementing this art, it became apparent that I would have to start creating simpler colliders for the movement and for the raycasting that determines the state of each cover point. The art mesh will simply a visual representation of the environment, and also the colliders that the gun raycast and enemy projectiles collide with.

https://www.youtube.com/watch?v=P8gEB_bYFn8


Tuesday, 8 March 2016

Part Five: Ben Matthews. Environment Artist.

I began UV work on assets within the level. I broke apart the grey box and copied each individual asset within the scene so that I have 1 copy of everything. 1 of each panel type, 1 of each cable etc. I moved them out into empty space in a long line, then began UV work on them. I worked my way along the line of assets from left to right, ensuring the texel density was the same; or similar on every object. 

I arranged each object in the outliner and regularly cleaned the object history. Because I had so many panel variations I had to find a way of organizing them that made sense, so I used M, F and N to represent male, female and neutral. Similar to the system that's used to label cables, this allows me to look at a panel from the front and by looking from left to right understand which panel it is. For example, MFLongPanel; when I look at this panel from the front I know that the left hand side is male and the right hand side is female. I also know that the panel is long and not short. Organizing my outliner like this helped me to keep a handle on things, sometimes when your working with a busy Maya scene it can become difficult to keep track of your objects. Setting up my scene in this way ensures this doesn't happen.

Its important to note that I will be using seamless textures across all the assets I create for the environment. This will allow me to re use textures; lowering the size of the project, saving me time, and lowering the number of materials. This is important as we are limited to having 100 texture sheets. This is the reason you can see the UV space being repeated on each object.


The original meshes that I copied the assets from were all combined, then placed into a layer. This allows me to hide the level but use the wire frame to position the assets correctly later on.


Once all of the UV work was complete I placed each individual asset back into position using the wire frame as reference. I then froze the transforms and reset the pivot back into the center of the world. I did this so that when I import the asset into Unity it will be in the correct position. This is especially important for assets that are only placed once in the game world. For assets that are going to be placed multiple times I will have to copy them around, and put them in place manually when in Unity. This will also save on tri count as the tri count is made up of the assets in the Unity project. By using one asset over and over I save massively on tris.


You can see here how I have placed one of each asset into position using the wire frame as reference.

Window, in place and ready to be duplicated in engine.

The next task for me was to clean up my hierarchy in Maya, I started by deleting the history along with any unwanted geometry. I then deleted any unwanted transforms and groups.


I then grouped any meshes together to create well organised assets. This also allows me to import a whole asset but apply different materials to different parts of the mesh.


Once I had the hierarchy organised I began importing assets into Unity.


Here are all of the assets placed into the unity project. I can now copy them around to create the environment.